
Many times, when building out your monday.com boards, you realize that your boards just have so many columns, and you wonder, how can I ever fill out this board? It seems like you just need to keep on scrolling and scrolling horizontally to enter in all of the information and that seems daunting.
I recently worked on a custom implementation for a company that sells huge water tanks. The basic implementation work was setting up a CRM workflow and a way to automate creating a quote for their potential jobs. In order to provide a quote for the customer, there are about 30 pieces of information that needed to be collected and entered into the monday.com board in order to do the necessary calculations and then generate a quote. For example they needed to know the tank size, diameter, tank material, what material is under the tank, how many bolts they need per tank �� and the list just goes on. When all of the columns were added to monday.com, these boards had about 60 columns, which is just way too much to handle when you are manually entering in all of that information.
This obviously begs the question, how can you enter information into monday.com without having to scroll so much?
I would like to present two simple ways to add information into your monday.com boards that could be easier to handle, more visually pleasing and certainly has less scrolling.
Workform
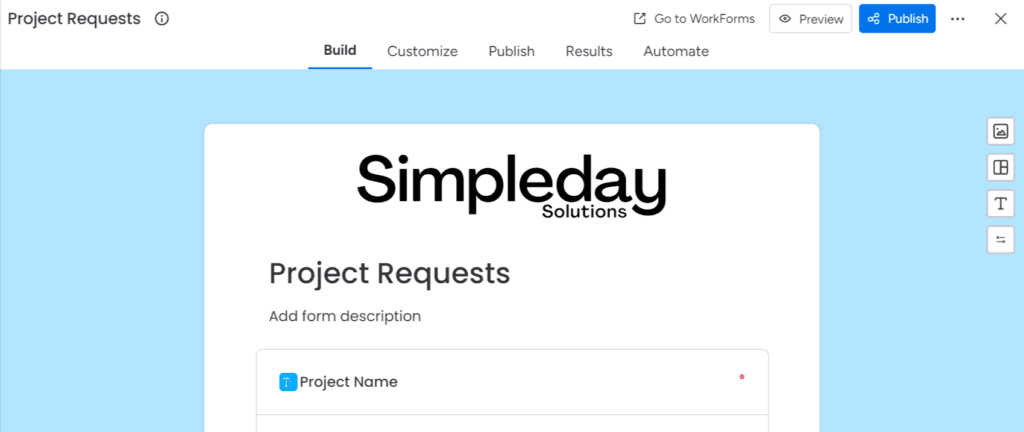
monday.com has a forms option where you can create forms based on your boards. What that means is that most (unfortunately not all) of your columns on your board can be filled in using a form. When the form is filled out, the information will go directly into your board. So if you need to enter a lot of information into your board, an easier user experience could be to use the form. Simply set up a Workform on your monday.com board and use the link each time to add info in.
Item Card
Another way to easily enter information into your boards would be to add it into the item card. In order to do this, you do need to create the first item on a board. Lets go back to this example above about the water company and I can explain how they use item cards to enter all of the data into the boards. Once an item is created, you need to click on the conversation bubble. When that is open, you may need to add a new item view. Click on the plus button and choose item cards.
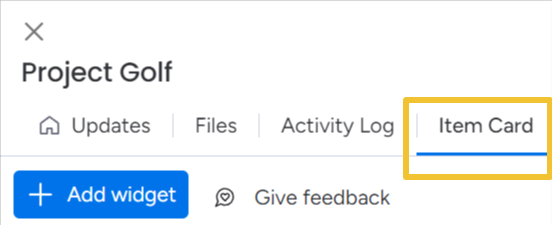
Once that is added to the view, the beauty of this is that you can customize this as much as you would like. For the water tank company, I created 3 item cards. Each one had a different purpose. The first was for basic contact information, the second was for general tank information and the third was for the engineering part of the tank. When you are in the item view, with the tick of a checkmark, you can decide which columns should be in each item card. This allows you to divide the information for each item card which allows a super easy view of all of the columns on your board.
What method do you use when you don’t want to keep on scrolling?